TruePlayerFlavor
About
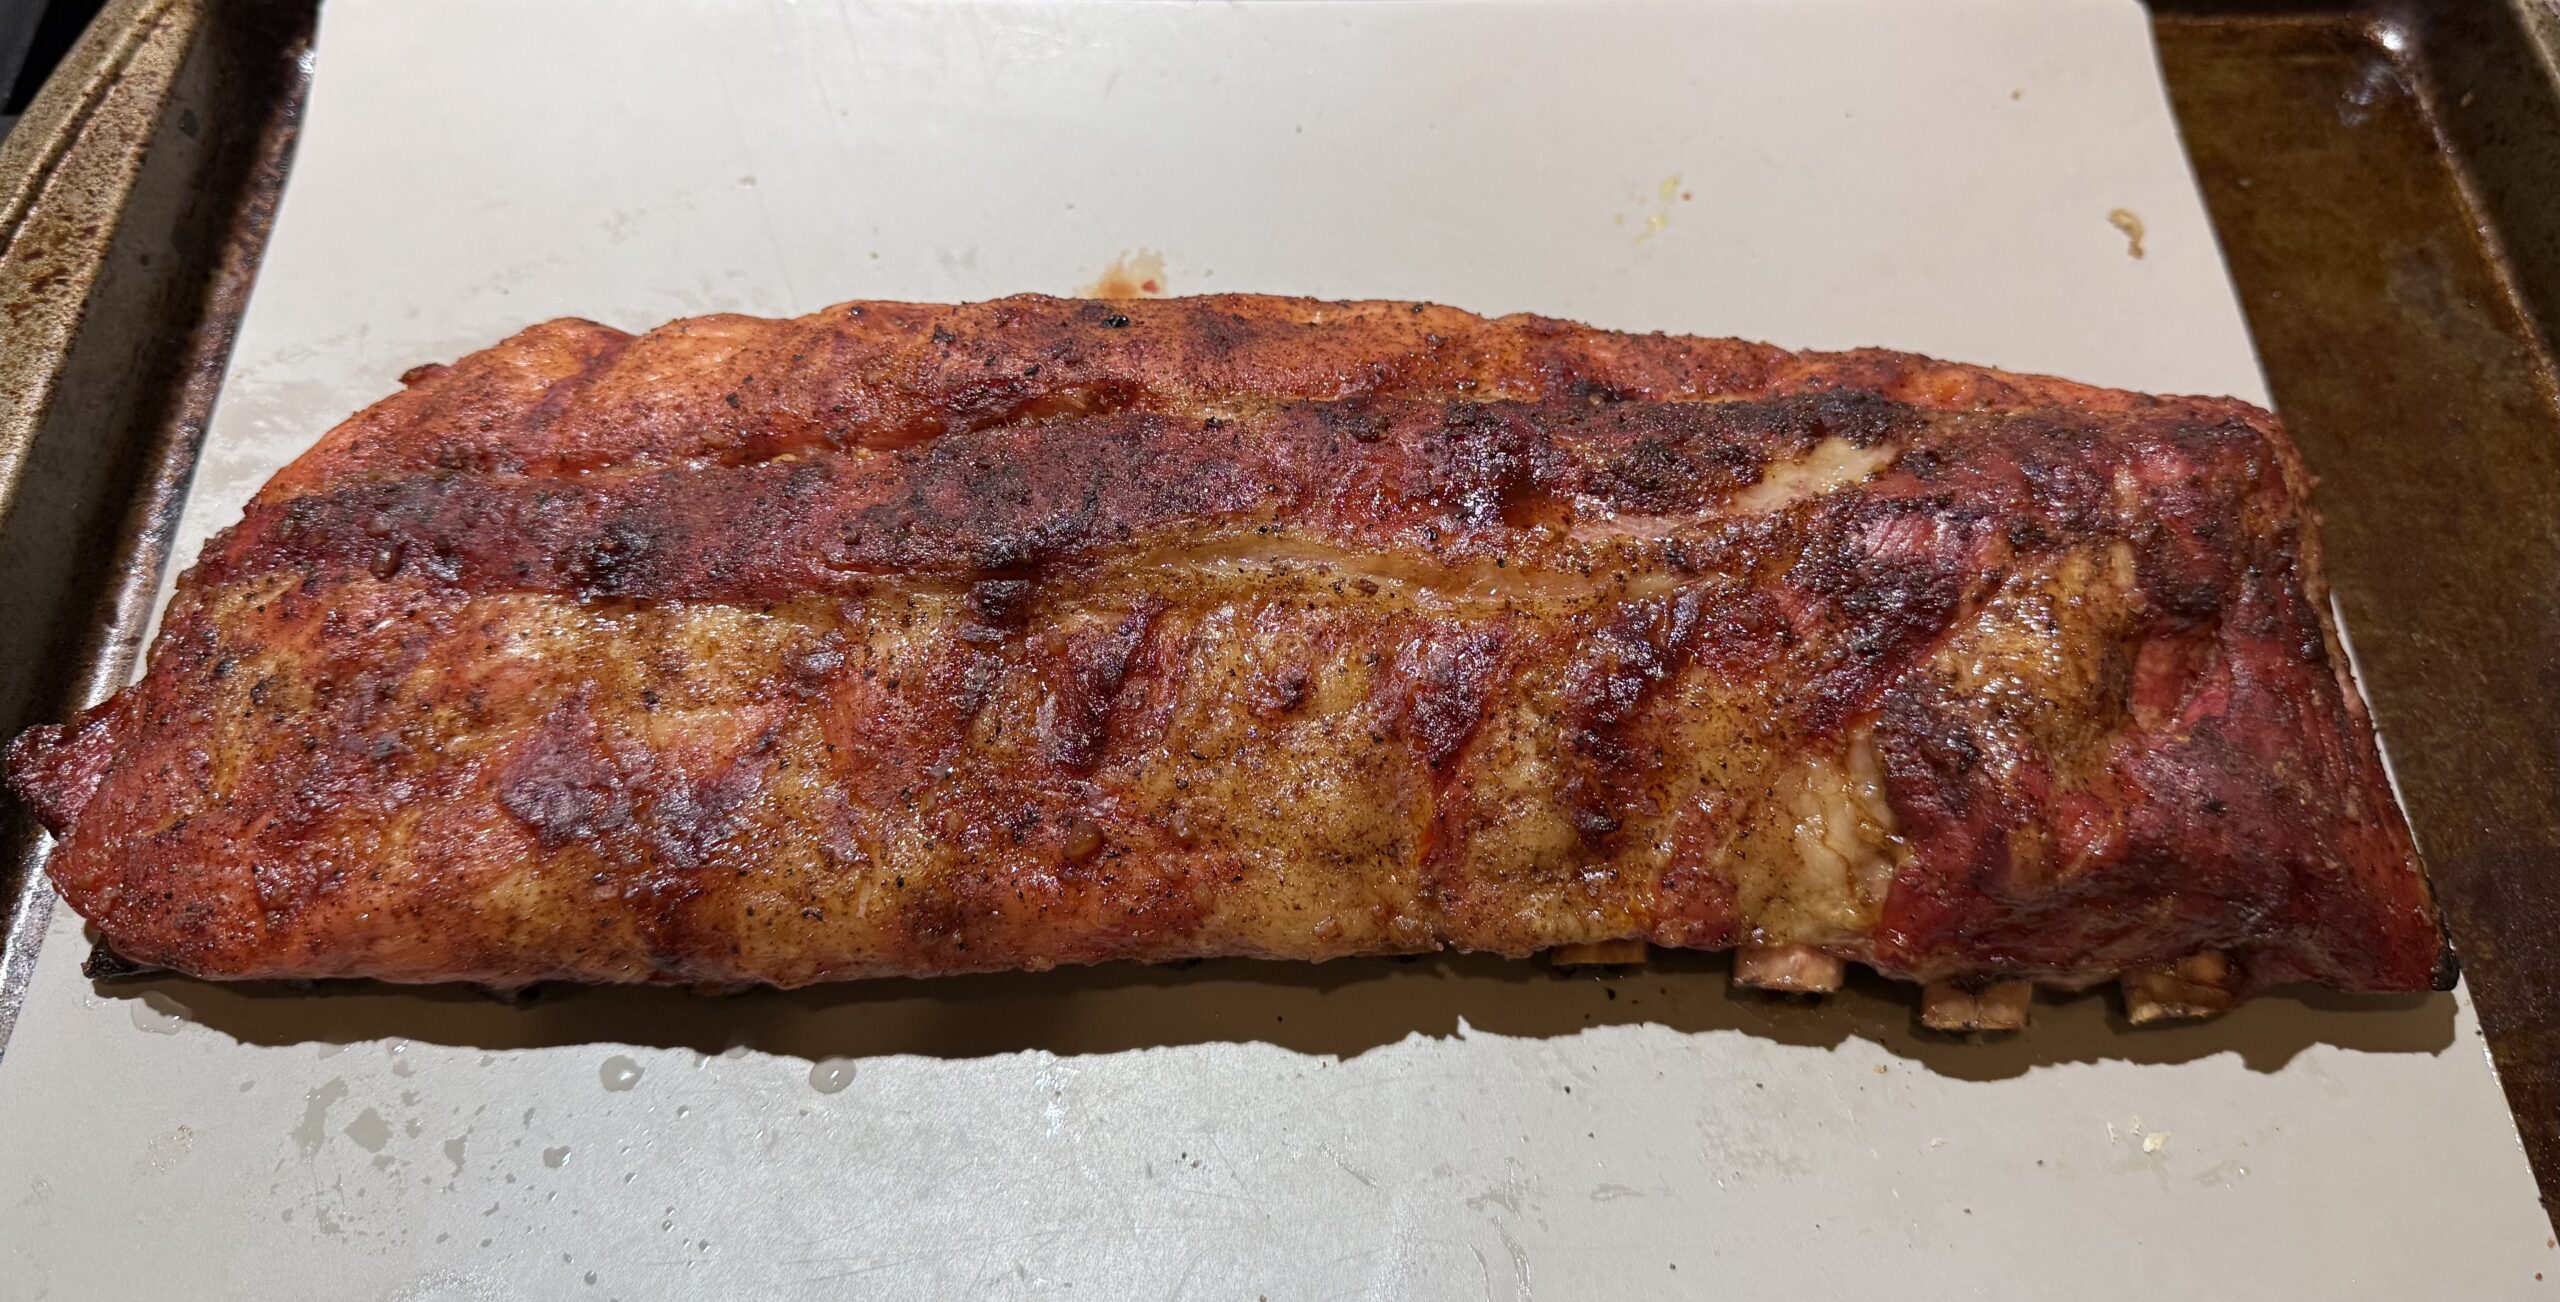
Smoked Pork Ribs
Celebration
,
Grilling
,
Main Dishes
,
Pork
February 1, 2025
Search
The Latest
Bacon, egg and cheese on sourdough
February 1, 2025
Smoked Buffalo Chicken Wings
January 4, 2021
Butternut Squash and Spinach Gratin
January 12, 2014
Beef Wellington
February 4, 2013
Garlicky Beef Tenderloin with Orange Horseradish
July 2, 2012
Soy and Sesame Chicken with Cucumbers and Mint
March 28, 2012
Philly Cheesesteak at Home
Grilling
,
Main Dishes
,
Steak
·
March 28, 2012
Butter Lettuce and Avocado Salad
Salad
,
Side Dishes
,
Vegetarian
·
March 20, 2012
Basil and Garlic Meatballs with Linguine
Italian
,
Main Dishes
·
March 19, 2012
Ginger Stir-Fried Tofu with Kale and Carrots
Asian
,
Main Dishes
,
Vegetarian
·
February 5, 2012
1
2
3
…
20
Next Page